前一陣子研究 Android APP 學到不少技術,覺得一定要整理與分享給大家,順便為自己留下有用的筆記,這次總共要教 3 項寫 APP 常用的元素,文章是藉由教切換 Activity(切換頁面)來帶到如何更改 Action Bar(Title Bar)標題與禁用返回鍵,那我們就不廢話馬上開始!首先先來分開講解,最後再用實際的 APP 專案整合解說並提供完整程式碼!站長使用 Android Studio 作為整合開發工具。
一、切換 Activity(切換頁面)
在 Android APP 一個頁面通常是一個 Activity,所以如果要切換頁面就是等於切換 Activity,一般我們會用 Intent 這個類別裡的 setClass 來做,通常還會搭配按鈕監聽,讓使用者點擊按鈕時切換頁面。
Intent intent = new Intent();
intent.setClass(MainActivity.this, B.class);
startActivity(intent);說明:先建立一個 intent 實體,接著使用它的 setClass 方法,將 MainActivity 頁面切換至 B 頁面,請注意!前者要用 .this,切過去的後者是用 .class,最後再用 startActivity(intent); 執行切換動作。
二、更改 Action Bar(Title Bar)標題
Android APP 上方通常會有一個 Bar 顯示標題,我們叫它 Action Bar 或 Title Bar,它的標題是可以修改的。
setTitle("A");說明:將 Action Bar 或 Title Bar 標題改為「A」。
三、禁用返回鍵
簡單來說就是禁止在 APP 內使用返回鍵前往 APP 中的上一個頁面,也就是說有使用這功能的頁面按返回鍵會等於回到主畫面。
@Override
public void onBackPressed() {
    moveTaskToBack(true);
}說明:運用 Override(複寫)來使返回鍵可以直接回主畫面。
⌨️ 實際寫程式活用:A 頁面 & B 頁面切換 APP
這邊直接寫一個程式,擁有兩個 Activity(頁面),分別是 MainActivity 和 B,前者就當作 A 頁面,後者就如其名是 B 頁面,接著在上頭都寫入將 Action Bar(Title Bar)標題改為該頁面名稱(A 頁面標題就是「A」),並且有顆按鈕可以切換到另一個頁面(A 頁面按按鈕會到 B 頁面),最後就是要加入禁用返回鍵的程式碼。
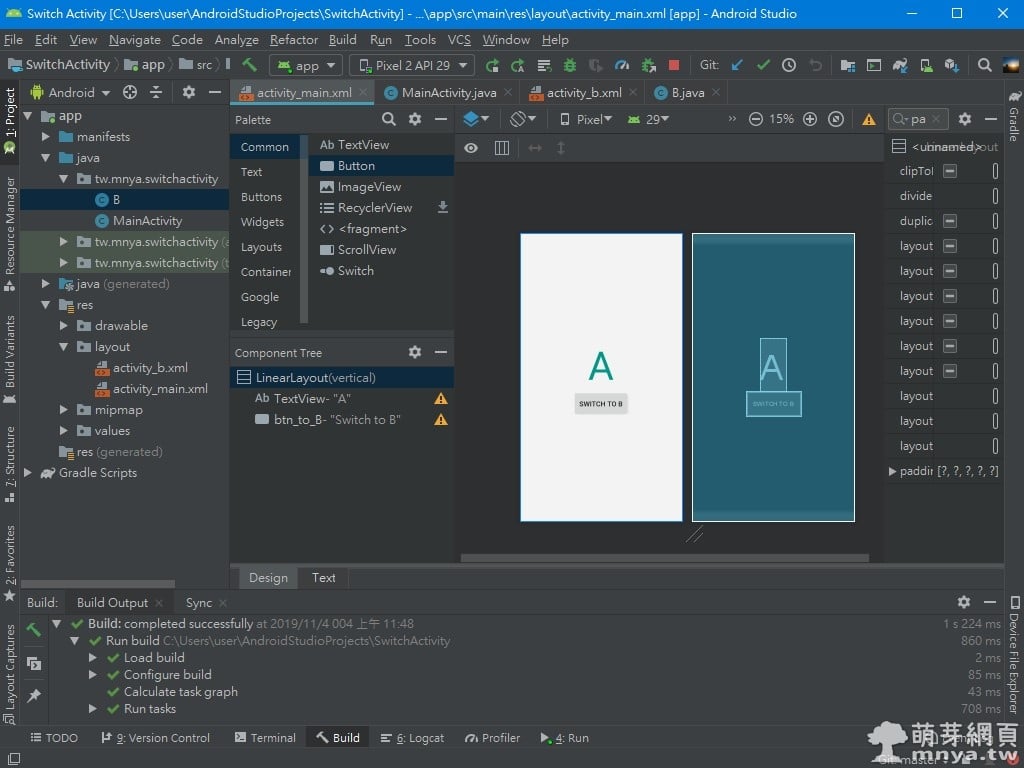
▲ activity_main.xml 的設計模式,完整 XML 原始碼如下:
<?xml version="1.0" encoding="utf-8"?>
<LinearLayout xmlns:android="http://schemas.android.com/apk/res/android"
    xmlns:app="http://schemas.android.com/apk/res-auto"
    xmlns:tools="http://schemas.android.com/tools"
    android:layout_width="match_parent"
    android:layout_height="match_parent"
    android:background="#F3F3F3"
    android:gravity="center"
    android:orientation="vertical"
    tools:context=".MainActivity">

    <TextView
        android:layout_width="wrap_content"
        android:layout_height="wrap_content"
        android:text="A"
        android:textColor="#009688"
        android:textSize="100sp"
        app:layout_constraintBottom_toBottomOf="parent"
        app:layout_constraintLeft_toLeftOf="parent"
        app:layout_constraintRight_toRightOf="parent"
        app:layout_constraintTop_toTopOf="parent" />

    <Button
        android:id="@+id/btn_to_B"
        android:layout_width="wrap_content"
        android:layout_height="wrap_content"
        android:paddingLeft="15dp"
        android:paddingTop="20dp"
        android:paddingRight="15dp"
        android:paddingBottom="20dp"
        android:text="Switch to B"
        android:textSize="18sp" />

</LinearLayout>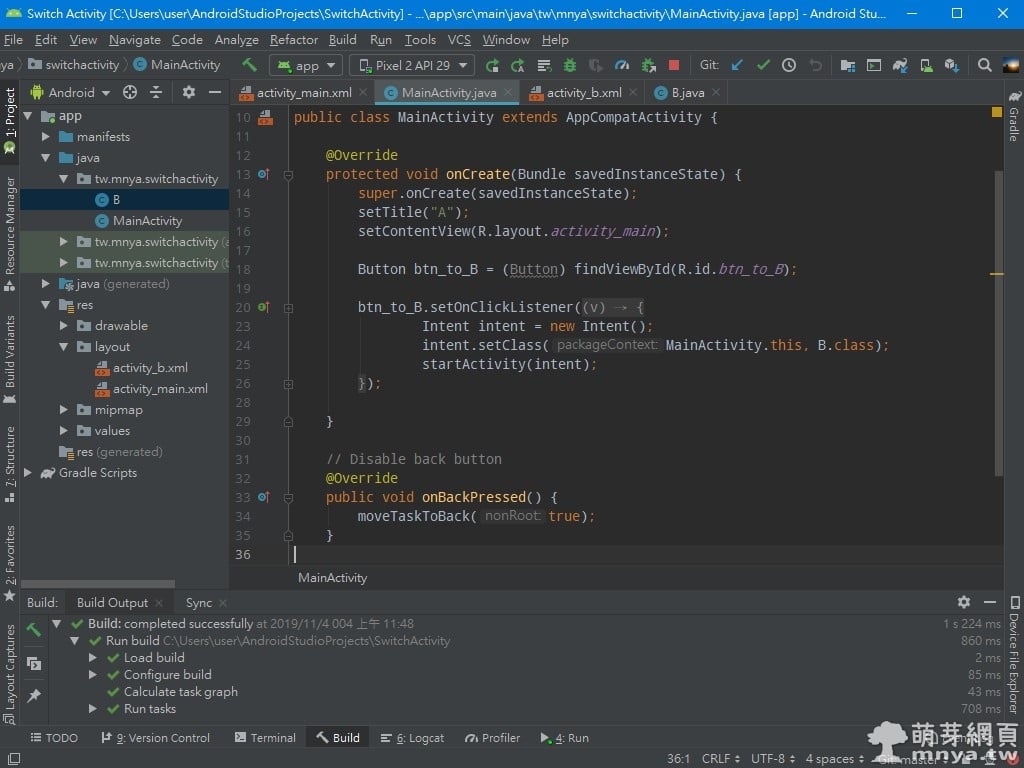
▲ MainActivity.java 程式碼片段截圖,完整 Java 程式碼如下:
package tw.mnya.switchactivity;

import androidx.appcompat.app.AppCompatActivity;

import android.content.Intent;
import android.os.Bundle;
import android.view.View;
import android.widget.Button;

public class MainActivity extends AppCompatActivity {

    @Override
    protected void onCreate(Bundle savedInstanceState) {
        super.onCreate(savedInstanceState);
        setTitle("A");
        setContentView(R.layout.activity_main);

        Button btn_to_B = (Button) findViewById(R.id.btn_to_B);

        btn_to_B.setOnClickListener(new View.OnClickListener() {
            @Override
            public void onClick(View v) {
                Intent intent = new Intent();
                intent.setClass(MainActivity.this, B.class);
                startActivity(intent);
            }
        });

    }

    // Disable back button
    @Override
    public void onBackPressed() {
        moveTaskToBack(true);
    }

}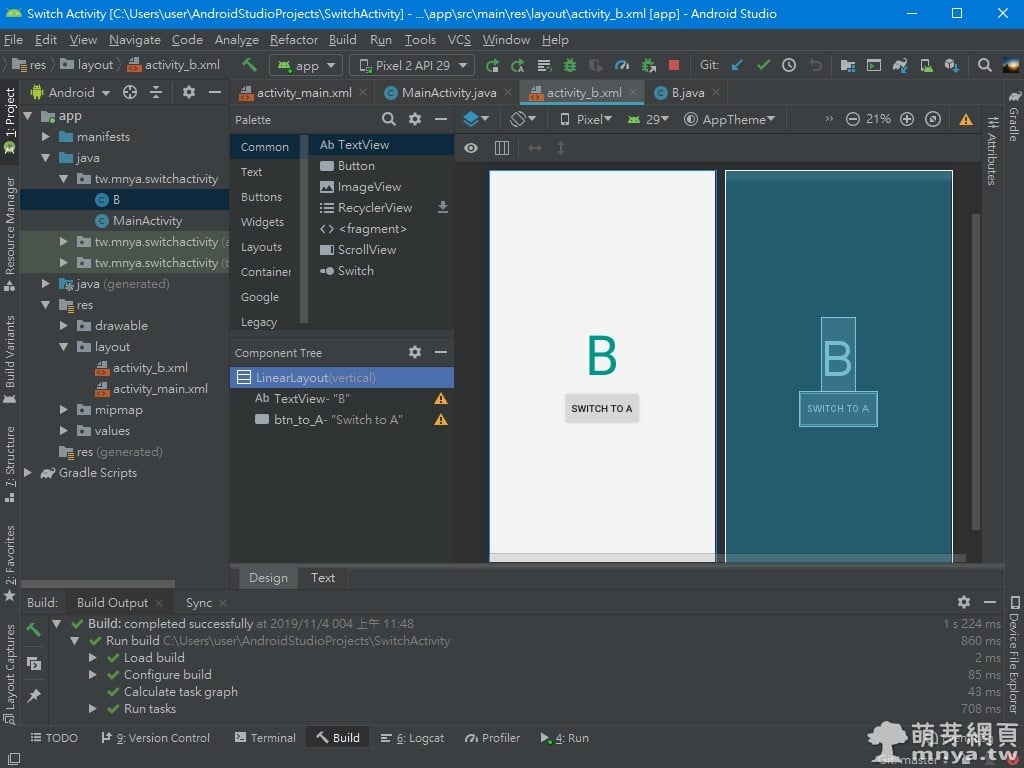
▲ 接著是 B 頁面的布局,也就是 activity_b.xml,完整 XML 原始碼如下:
<?xml version="1.0" encoding="utf-8"?>
<LinearLayout xmlns:android="http://schemas.android.com/apk/res/android"
    xmlns:app="http://schemas.android.com/apk/res-auto"
    xmlns:tools="http://schemas.android.com/tools"
    android:layout_width="match_parent"
    android:layout_height="match_parent"
    android:background="#F3F3F3"
    android:gravity="center"
    android:orientation="vertical"
    tools:context=".B">

    <TextView
        android:layout_width="wrap_content"
        android:layout_height="wrap_content"
        android:text="B"
        android:textColor="#009688"
        android:textSize="100sp"
        app:layout_constraintBottom_toBottomOf="parent"
        app:layout_constraintLeft_toLeftOf="parent"
        app:layout_constraintRight_toRightOf="parent"
        app:layout_constraintTop_toTopOf="parent" />

    <Button
        android:id="@+id/btn_to_A"
        android:layout_width="wrap_content"
        android:layout_height="wrap_content"
        android:paddingLeft="15dp"
        android:paddingTop="20dp"
        android:paddingRight="15dp"
        android:paddingBottom="20dp"
        android:text="Switch to A"
        android:textSize="18sp" />

</LinearLayout>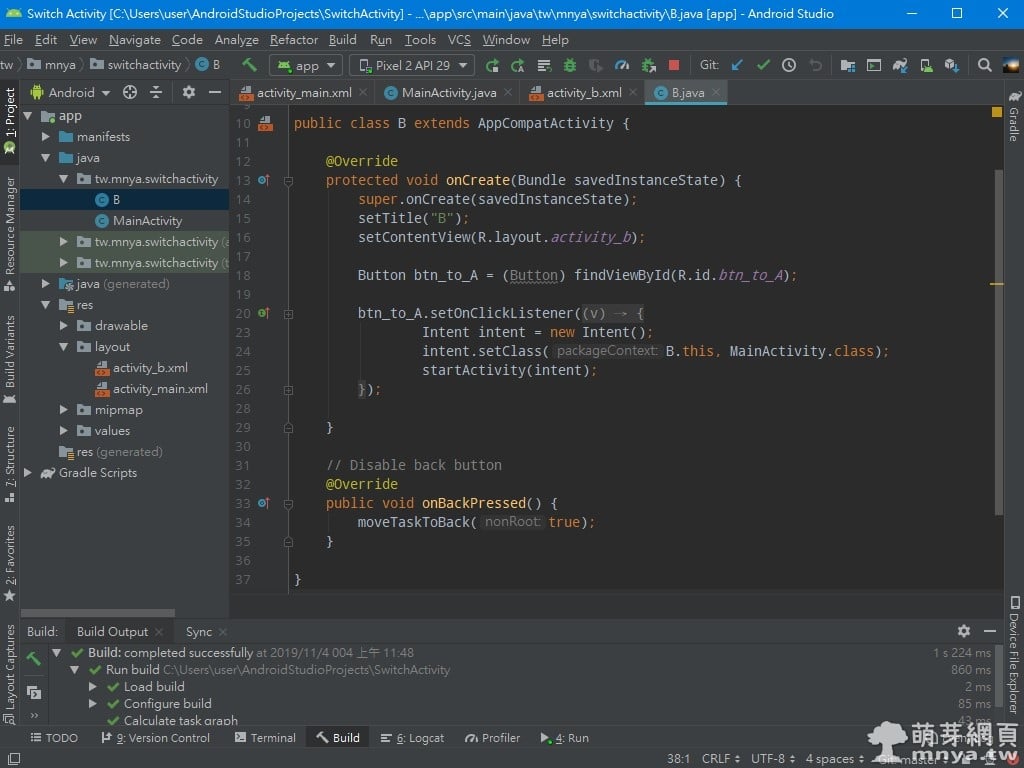
▲ 最後就是 B 頁面的程式檔 B.java,完整程式碼如下:
package tw.mnya.switchactivity;

import androidx.appcompat.app.AppCompatActivity;

import android.content.Intent;
import android.os.Bundle;
import android.view.View;
import android.widget.Button;

public class B extends AppCompatActivity {

    @Override
    protected void onCreate(Bundle savedInstanceState) {
        super.onCreate(savedInstanceState);
        setTitle("B");
        setContentView(R.layout.activity_b);

        Button btn_to_A = (Button) findViewById(R.id.btn_to_A);

        btn_to_A.setOnClickListener(new View.OnClickListener() {
            @Override
            public void onClick(View v) {
                Intent intent = new Intent();
                intent.setClass(B.this, MainActivity.class);
                startActivity(intent);
            }
        });

    }

    // Disable back button
    @Override
    public void onBackPressed() {
        moveTaskToBack(true);
    }

}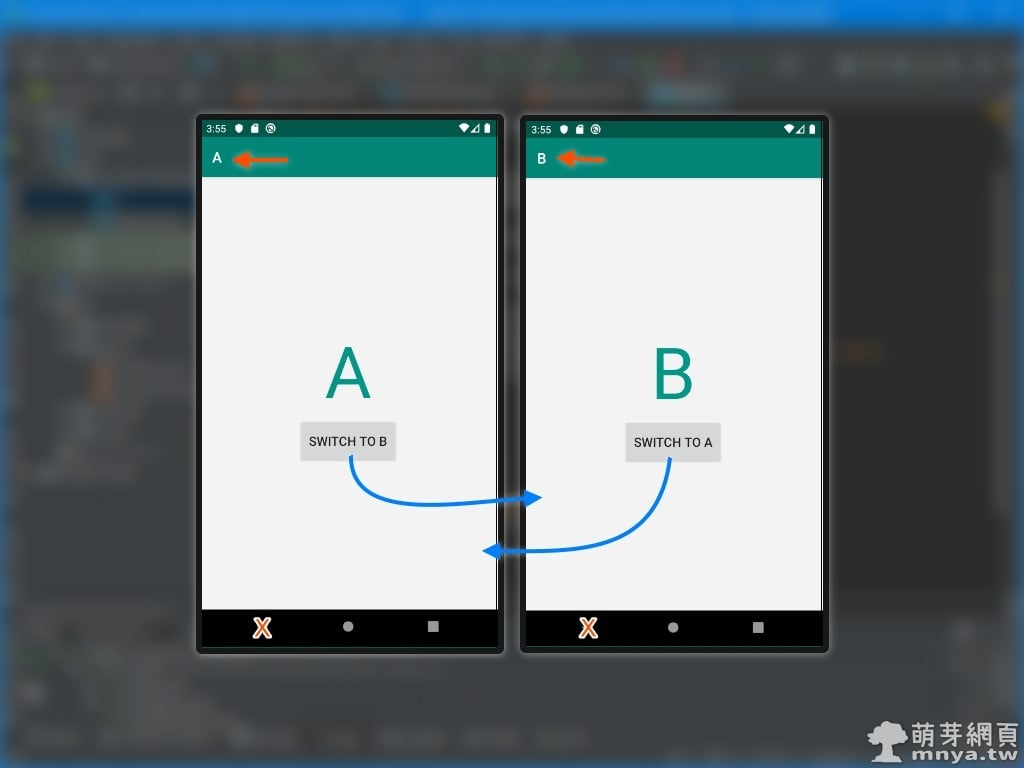
▲ 完成後執行 APP 的結果就如上圖,有兩個頁面(A 與 B),各有一顆按鈕可以切換至另一個頁面,且返回鍵無法返回 APP 內的前一個頁面,會直接返回主畫面。
A 頁面 & B 頁面切換 APP 的 GitHub 👉 https://github.com/qwe987299/Switch_Activity





 《上一篇》Android Studio:Firebase RealTime Database 建立與規則設定、APP 寫入與讀取
  《下一篇》ASUS ZenFone 6 ZS630KL (6G/128G) - 迷霧黑


留言區 / Comments
萌芽論壇