Inno Setup 是由 Jordan Russell 和 Martijn Laan 開發的免費 Windows 程式安裝工具。自 1997 年首次推出以來,Inno Setup 在功能和穩定性方面已經超越了許多商業安裝工具。Inno Setup 支援自 2006 年以來的所有 Windows 發行版本,包括 Windows 11、Windows 10、Windows 11 on Arm、Windows 10 on Arm、Windows Server 2019、Windows Server 2016、Windows 8.1、Windows 8、Windows Server 2012、Windows 7 和 Windows Server 2008 R2。它對 64 位應用程式的安裝有廣泛的支援,並且支援 x64、ARM64 和 Itanium 架構。Inno Setup 允許生成單一 EXE 檔案以便於線上發佈,並支援磁碟分割。其安裝介面是標準的 Windows 精靈介面,可以自訂安裝類型,如完整、最小、自訂等。該工具具備完整的解除安裝功能,並支援多語言安裝(包含從右到左的語言)。
Inno Setup 內建對 "deflate"、bzip2 和 7-Zip LZMA/LZMA2 檔案壓縮的支援,並能夠比較文件版本資訊、替換使用中的文件、使用共享文件計數、註冊 DLL/OCX 和類型庫,以及安裝字體。此外,還能建立捷徑(包含開始選單和桌面上的捷徑)、註冊表和 .INI 項,並在安裝前、安裝中或安裝後運行其他程式。該工具還支援密碼保護和加密安裝、數位簽名安裝和解除安裝(包括雙重簽名 SHA1 和 SHA256)、無聲安裝和解除安裝,以及 Unicode 安裝。Inno Setup 提供集成的預處理器選項,用於高級編譯時自訂,以及集成的 Pascal 腳本引擎選項,用於高級運行時安裝和解除安裝自訂。
Inno Setup 的全部原始程式碼可在 GitHub 上獲取。其佔用空間極小,所有功能總計僅約 1.5 MB。最重要的是,Inno Setup 完全免費,即使是用於商業應用程式的部署也不收取任何費用。如果您希望支持其開發,可以考慮捐款給原開發者表達感謝。需要注意的是,「完全免費」並不意味著「完全無限制」。Inno Setup 是版權軟體,不是公有領域軟體,使用和分發時有一些限制。
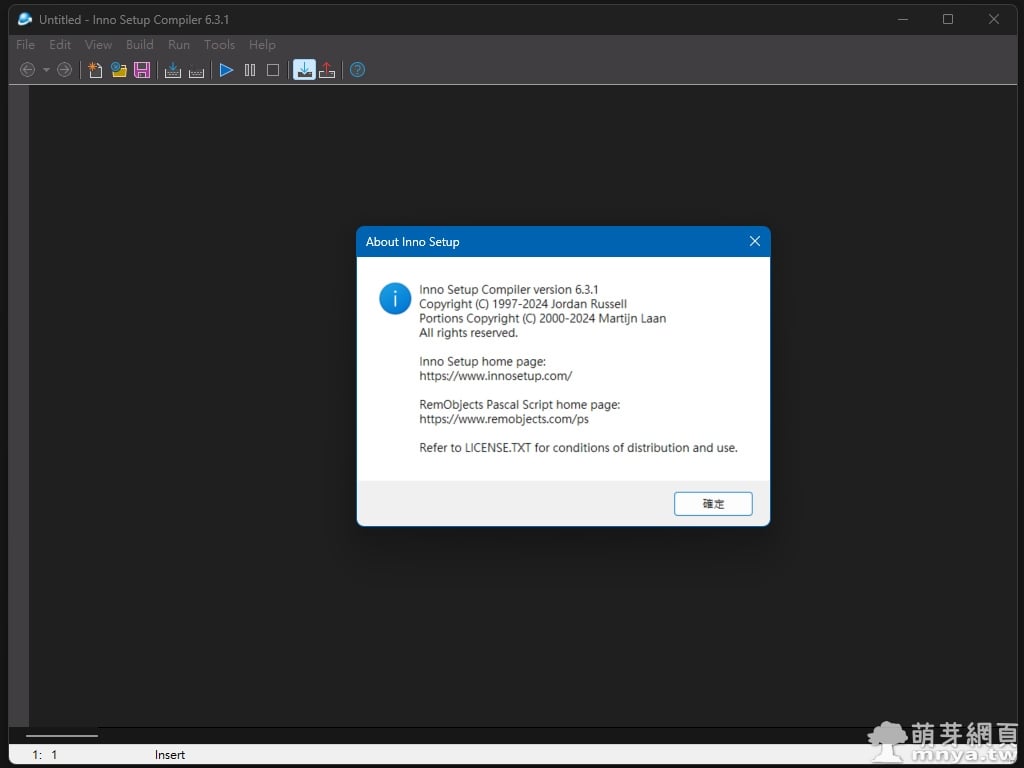
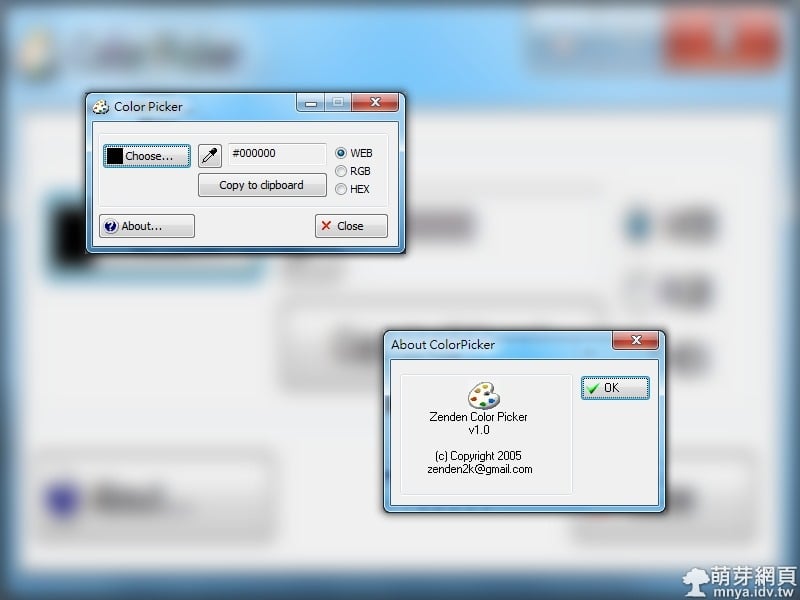
▲ 軟體介面及關於視窗。
這邊我運用軟體內建的精靈一步步生成一個新的 EXE 安裝檔!
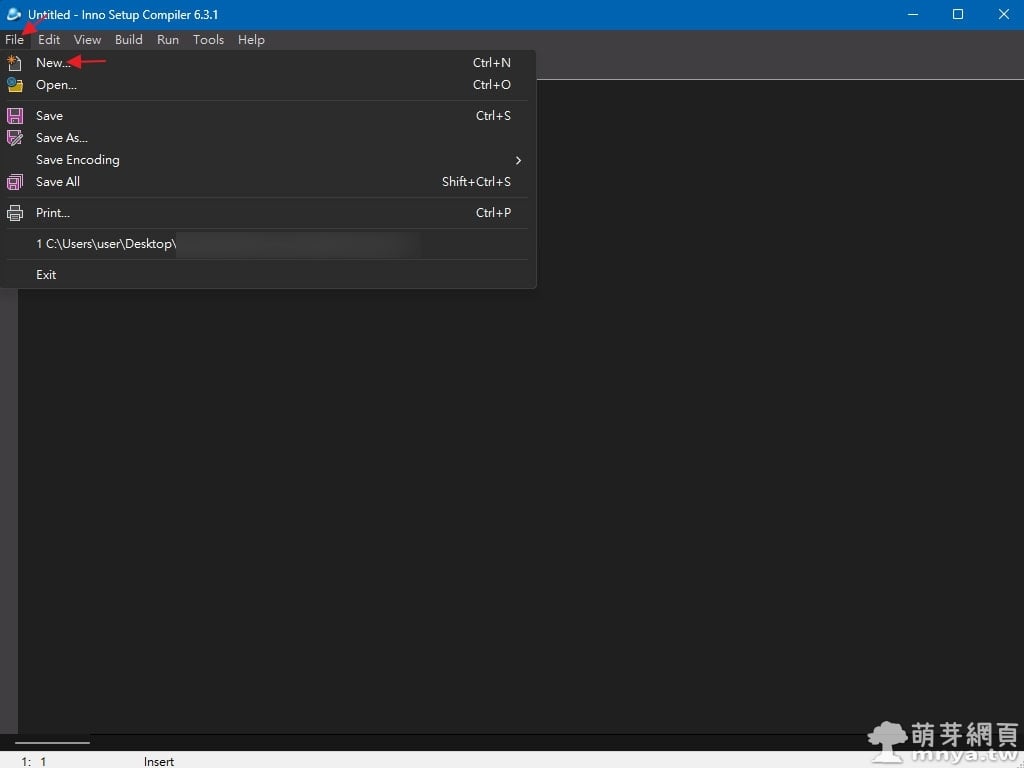
▲ 首先到上方選單「File」中選「New...」。
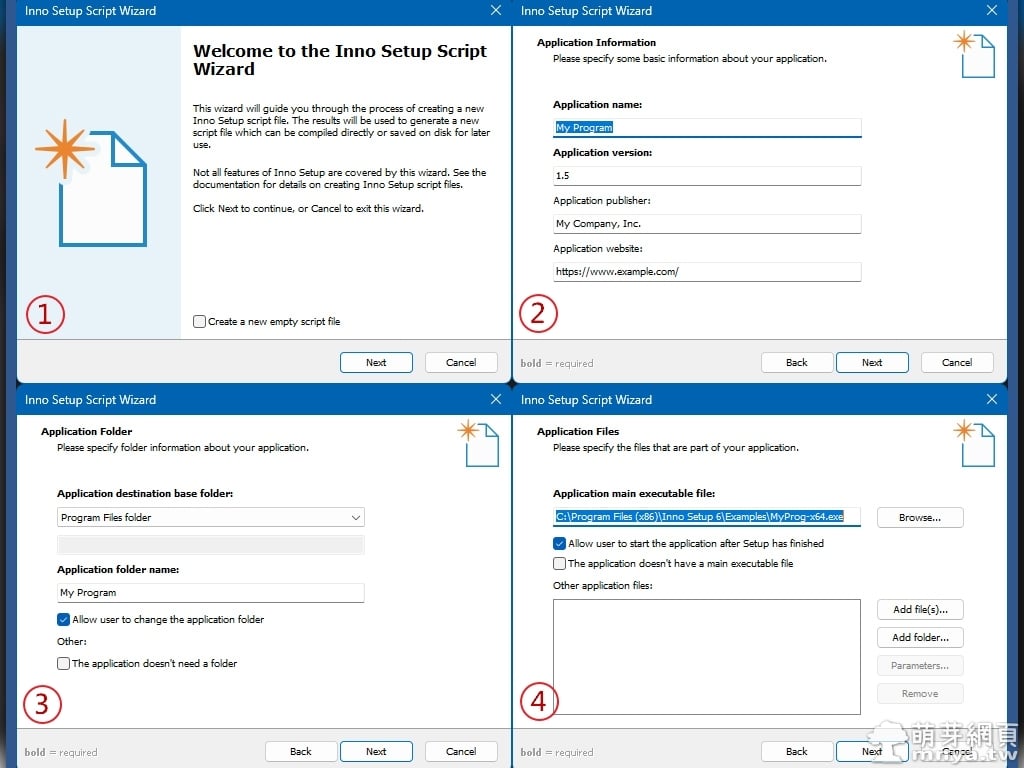
▲ (1) 不要勾「Create a new empty script file」直接點「Next」,若勾選擇直接建立新腳本不使用精靈生成;(2) 輸入應用程式名稱、版本資訊、發布商資訊和網址等;(3) 選擇程式安裝位置以及輸入應用程式的目錄名稱,都是可以自訂的;(4) 選擇執行檔的位置,並選擇要複製進入安裝目錄的檔案或目錄。
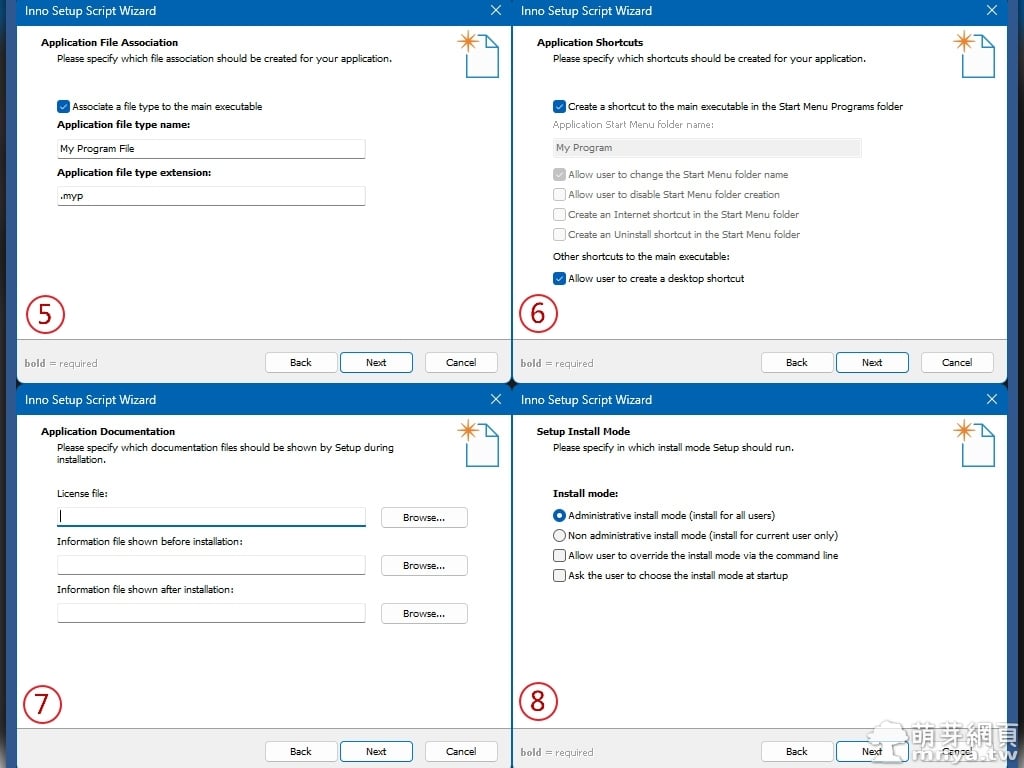
▲ (5) 關聯指定的附檔名;(6) 協助程式建立捷徑;(7) 載入相關資訊及授權條款;(8) 指定預設的安裝模式,預設選項是「Administrative install mode (install for all users)」,該模式會將程式安裝給電腦的所有使用者使用,這就需要管理者權限。也可以選擇「Non administrative install mode (install for current user only)」,這樣就只會安裝給使用此安裝檔的使用者,因此就不需要管理者權限。
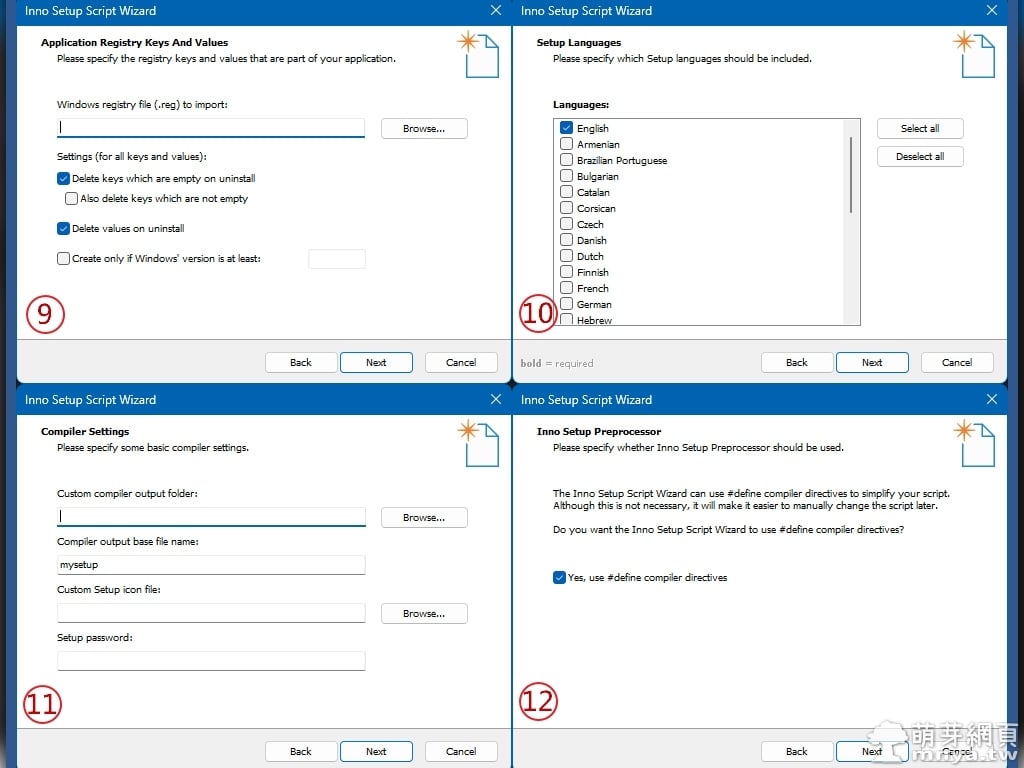
▲ (9) 註冊表相關設定;(10) 選擇安裝檔使用的介面語言,內建並不包含正體中文,若需要正體中文請參考這篇文章;(11) 程式編譯成 EXE 安裝檔後要放在哪裡?EXE 的名稱、icon(圖示)和執行密碼都在這輸入;(12) 若下方打勾會將一些設定參數透過 #define 宣告成全域的變數,之後要修改腳本會比較方便。
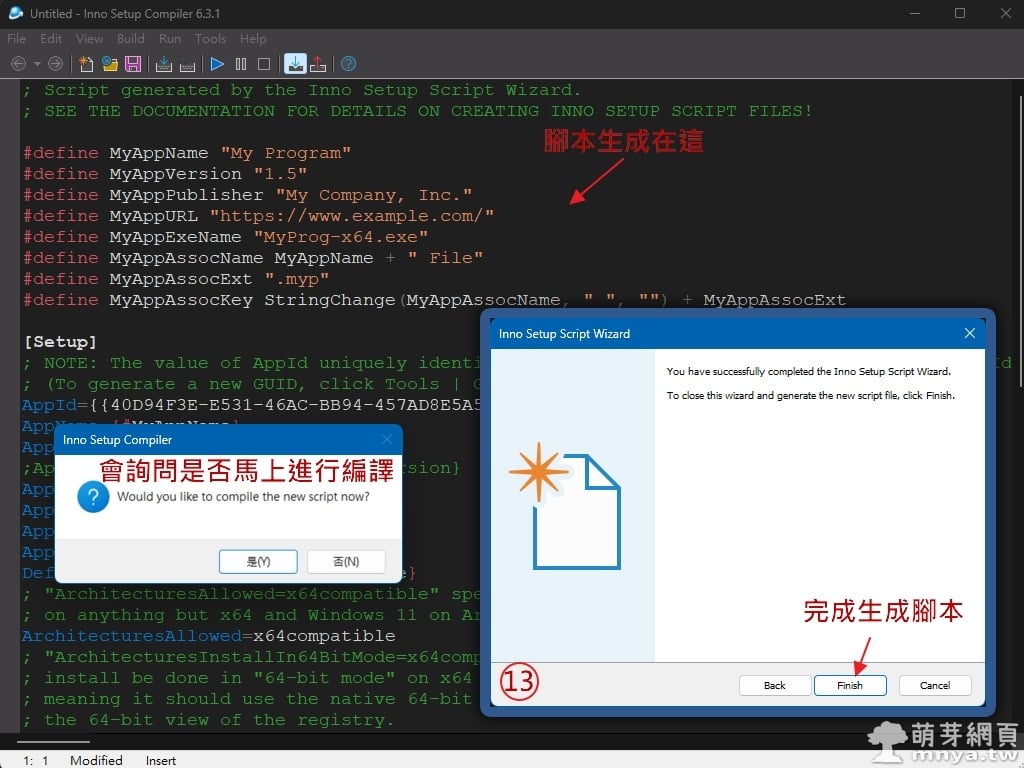
▲ (13) 完成!接著可以看到自動生成的腳本並會詢問是否馬上進行編譯工作。完整腳本放下面:
; Script generated by the Inno Setup Script Wizard.
; SEE THE DOCUMENTATION FOR DETAILS ON CREATING INNO SETUP SCRIPT FILES!

#define MyAppName "My Program"
#define MyAppVersion "1.5"
#define MyAppPublisher "My Company, Inc."
#define MyAppURL "https://www.example.com/"
#define MyAppExeName "MyProg-x64.exe"
#define MyAppAssocName MyAppName + " File"
#define MyAppAssocExt ".myp"
#define MyAppAssocKey StringChange(MyAppAssocName, " ", "") + MyAppAssocExt

[Setup]
; NOTE: The value of AppId uniquely identifies this application. Do not use the same AppId value in installers for other applications.
; (To generate a new GUID, click Tools | Generate GUID inside the IDE.)
AppId={{40D94F3E-E531-46AC-BB94-457AD8E5A5CD}
AppName={#MyAppName}
AppVersion={#MyAppVersion}
;AppVerName={#MyAppName} {#MyAppVersion}
AppPublisher={#MyAppPublisher}
AppPublisherURL={#MyAppURL}
AppSupportURL={#MyAppURL}
AppUpdatesURL={#MyAppURL}
DefaultDirName={autopf}\{#MyAppName}
; "ArchitecturesAllowed=x64compatible" specifies that Setup cannot run
; on anything but x64 and Windows 11 on Arm.
ArchitecturesAllowed=x64compatible
; "ArchitecturesInstallIn64BitMode=x64compatible" requests that the
; install be done in "64-bit mode" on x64 or Windows 11 on Arm,
; meaning it should use the native 64-bit Program Files directory and
; the 64-bit view of the registry.
ArchitecturesInstallIn64BitMode=x64compatible
ChangesAssociations=yes
DisableProgramGroupPage=yes
; Uncomment the following line to run in non administrative install mode (install for current user only.)
;PrivilegesRequired=lowest
OutputBaseFilename=mysetup
Compression=lzma
SolidCompression=yes
WizardStyle=modern

[Languages]
Name: "english"; MessagesFile: "compiler:Default.isl"

[Tasks]
Name: "desktopicon"; Description: "{cm:CreateDesktopIcon}"; GroupDescription: "{cm:AdditionalIcons}"; Flags: unchecked

[Files]
Source: "C:\Program Files (x86)\Inno Setup 6\Examples\{#MyAppExeName}"; DestDir: "{app}"; Flags: ignoreversion
; NOTE: Don't use "Flags: ignoreversion" on any shared system files

[Registry]
Root: HKA; Subkey: "Software\Classes\{#MyAppAssocExt}\OpenWithProgids"; ValueType: string; ValueName: "{#MyAppAssocKey}"; ValueData: ""; Flags: uninsdeletevalue
Root: HKA; Subkey: "Software\Classes\{#MyAppAssocKey}"; ValueType: string; ValueName: ""; ValueData: "{#MyAppAssocName}"; Flags: uninsdeletekey
Root: HKA; Subkey: "Software\Classes\{#MyAppAssocKey}\DefaultIcon"; ValueType: string; ValueName: ""; ValueData: "{app}\{#MyAppExeName},0"
Root: HKA; Subkey: "Software\Classes\{#MyAppAssocKey}\shell\open\command"; ValueType: string; ValueName: ""; ValueData: """{app}\{#MyAppExeName}"" ""%1"""
Root: HKA; Subkey: "Software\Classes\Applications\{#MyAppExeName}\SupportedTypes"; ValueType: string; ValueName: ".myp"; ValueData: ""

[Icons]
Name: "{autoprograms}\{#MyAppName}"; Filename: "{app}\{#MyAppExeName}"
Name: "{autodesktop}\{#MyAppName}"; Filename: "{app}\{#MyAppExeName}"; Tasks: desktopicon

[Run]
Filename: "{app}\{#MyAppExeName}"; Description: "{cm:LaunchProgram,{#StringChange(MyAppName, '&', '&&')}}"; Flags: nowait postinstall skipifsilent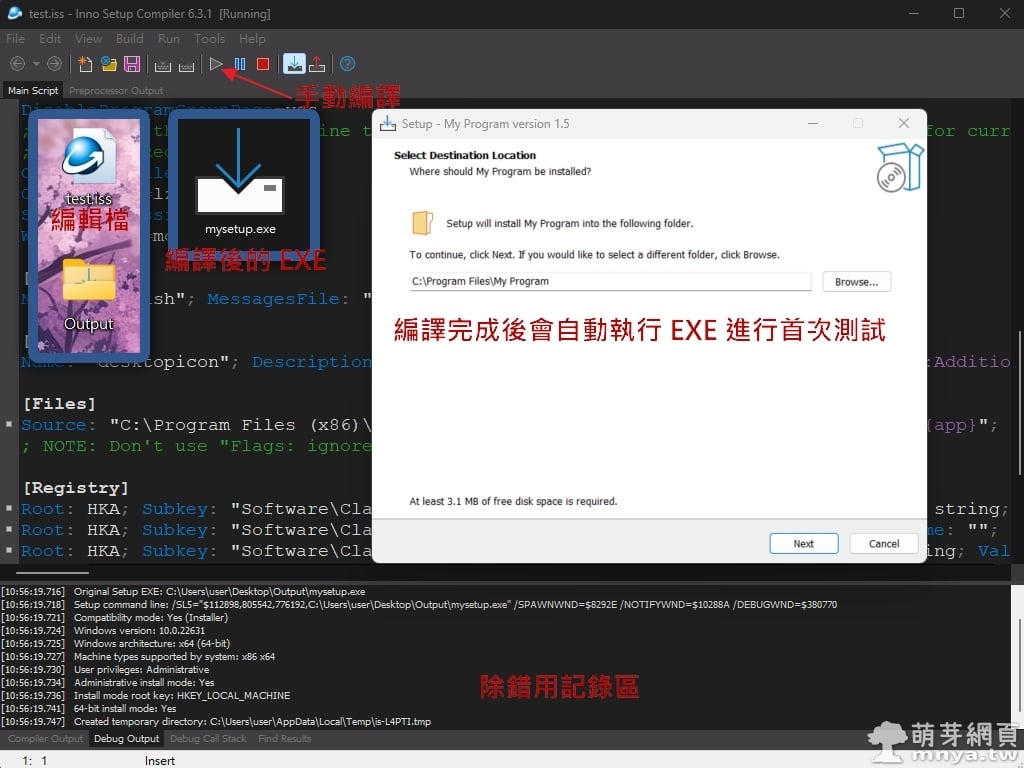
▲ 我先將腳本存成 .iss 的編輯檔,接著手動於上方點「▶️」執行編譯,下方有除錯用的記錄區,編譯完成後會自動執行 EXE 以進行測試。

 《上一篇》【貓貓蟲咖波歡樂旅遊小物】咖波多功能護照套
 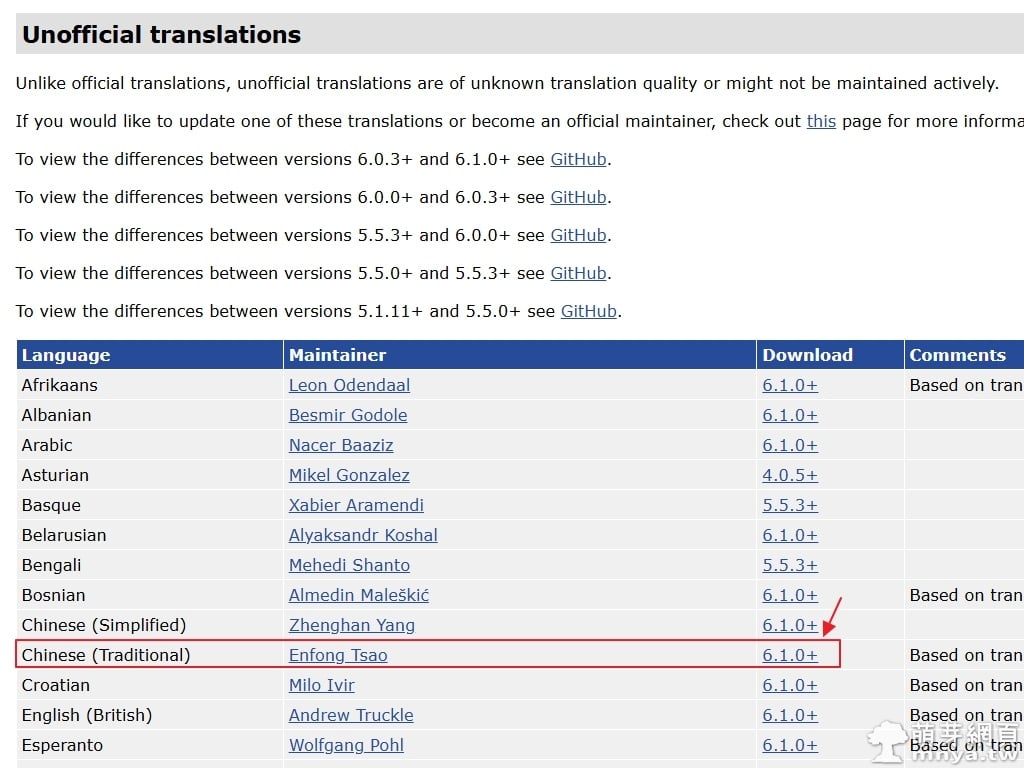 《下一篇》Inno Setup:生成正體中文介面的 EXE 安裝程式


留言區 / Comments
萌芽論壇